Creating Virtualization Profiles
Basic Settings
Select Repository tree root item, CONFIGURATION tab and VIRTUALIZATION sub-tab. Click +Add button to add a new Virtualization Profile to the list of managed virtualization profiles.
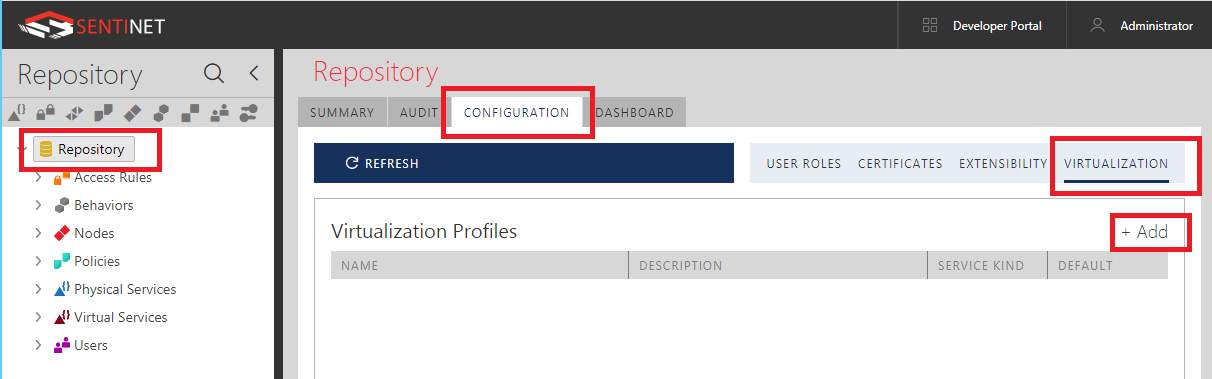
Figure. +Add button to create new Virtualization Profile. In the Add Virtualization Profile dialog box, provide the following fields under default BASIC settings tab:
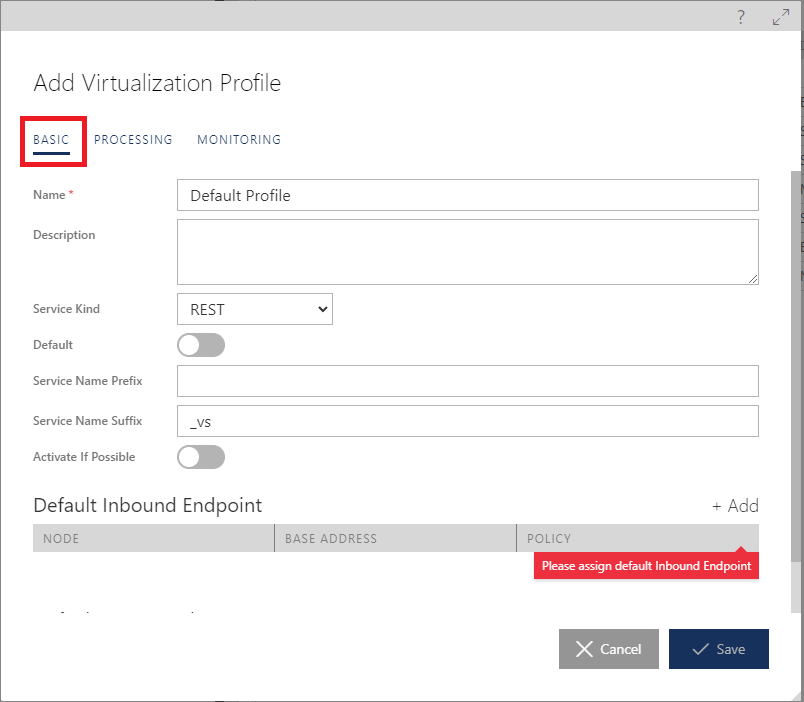
Name – user friendly name of your Virtualization Profile, for example REST-HTTP
Description – description of your Virtualization Profile (optional field)
Service Kind – select REST if Virtualization Profile will be used to virtualize REST services, or select SOAP if Virtualization Profile will be used to virtualize SOAP services.
Note
Sentinet supports “one-click” Virtualization Profiles only for REST to REST and SOAP to SOAP virtualization scenarios.
Default flag – for each Service Kind (REST and SOAP) at most one Virtualization Profile can be marked as Default. Default profile will show up as pre-selected in the Virtualize Service Version dialog box described later in this chapter, so that only one-click on its OK button can be used to create a new virtual service. If you set or change Default flag to on for a Virtualization Profile, then all other Virtualization Profiles with the same Service Kind will automatically set their Default flag to off.
-
Service Name Prefix – prefix will be automatically added to a virtualized service and service version name, when creating new virtual service and/or its version. For example, if you virtualize physical service named Order Service API with prefix vs_, its virtual service will be named vs_Order Service API. Service Name Prefix can be entered with leading spaces. If virtual service with vs_Order Service API already exists in the same folder, a new version of this virtual service will be created. Either Prefix or Suffix field (or both) must be defined for the Virtualization Profile.
Service Name Suffix – suffix will be automatically added to a virtualized service and service version name, when creating new virtual service and/or its version. For example, if you virtualize physical service named Order Service API with suffix _vs, its virtual service will be named Order Service API_vs. Service Name Suffix can be entered with leading spaces. If virtual service with Order Service API_vs already exists in the same folder, a new version of this virtual service will be created.
Activate if Possible flag – when this flag is enabled, Sentinet will attempt to create virtual service in Active state (see Service Life Cycle Management chapter in this document). Creating virtual service in Active state is not guaranteed even if this flag is set to on. For example, if virtualized physical service is in the Draft state, then its virtual service will be also automatically created in Draft state regardless of Activate if Possible flag.
Populate Default Inbound Endpoint table by clicking +Add button.
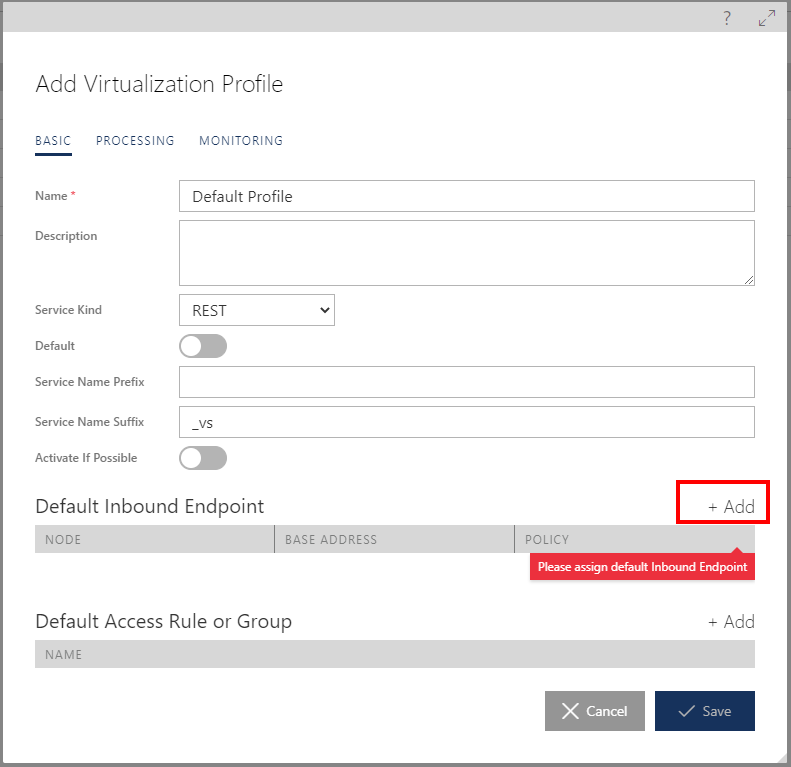
Figure. +Add button to add default inbound endpoint A Virtualization Profile may have only one inbound endpoint configured, which means that “one-click” virtualization always creates a new virtual service version with one endpoint only.
In the Default Inbound Endpoint dialog box, select Sentinet Node which will be used by this Virtualization Profile, its base address from the drop-down box, and security Policy that will be configured with virtual service’s inbound endpoint.
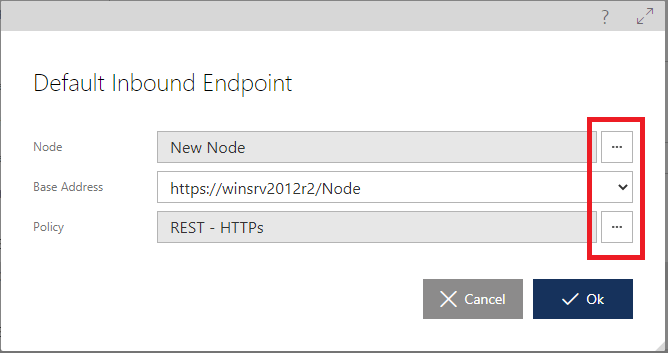
Figure. Default Inbound Endpoint dialog box with selection buttons and a drop-down. When selecting Node, you are asked to navigate in the Repository tree to select Sentinet Node that will host virtual services created through this Virtualization Profile. Once Node is selected, Base Address drop-down will be populated with all base addresses of selected Node.
Once Base Address is selected, you can navigate in the Repository tree to select a shared Policy, which will be configured with selected Base Address. Policies in the Repository tree will show up filtered to match Service Kind selected in step 2 above and protocol of the selected Base Address. For example, if Virtualization Profile is created for REST Service Kind, and Base Address is selected with https protocol, then only those shared policies will show up in the Repository tree that match RESTful policies with https protocol.
Populate optional Default Access Rule or Group table by clicking +Add button.
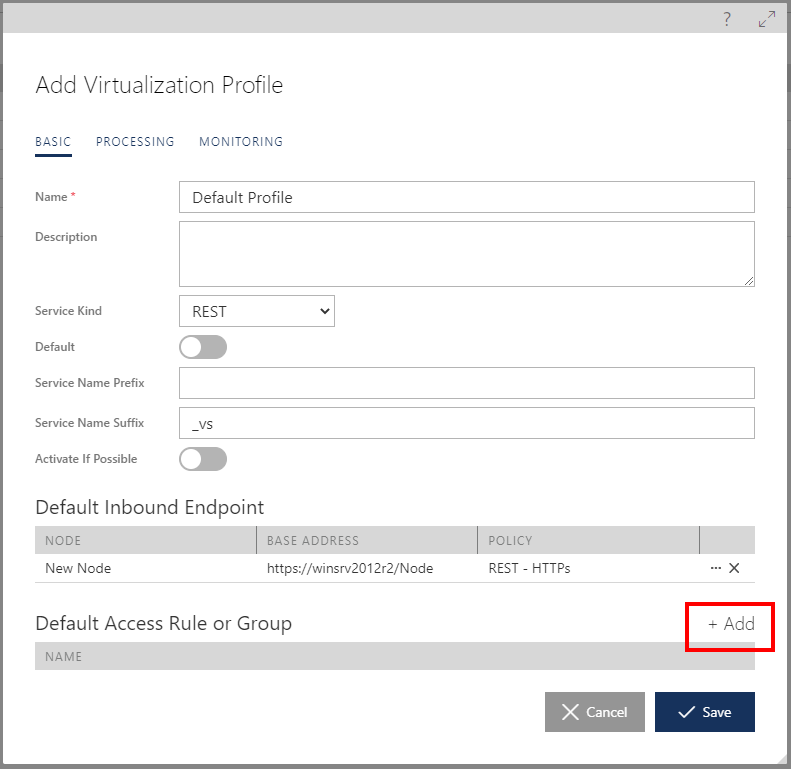
Figure. +Add button to add default Access Rule Only one Access Rule or Access Rule Group can be added to a Virtualization Profile. When you click +Add button, you are asked to navigate in the Repository tree to select Access Rule or Access Rule Group, which will be assigned to the Access Control of virtual services created through this Virtualization Profile.
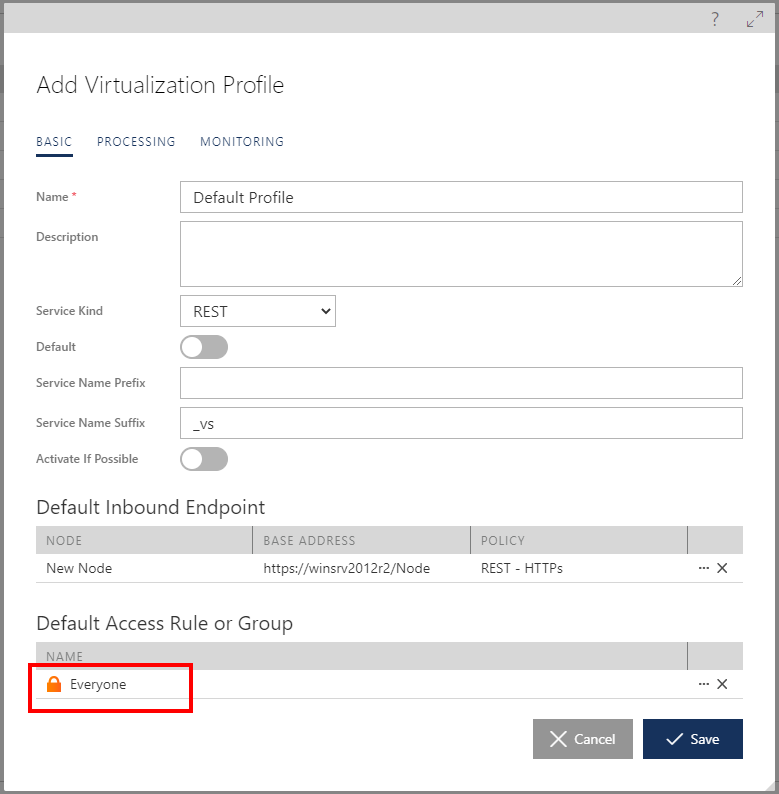
Figure. Example of Everyone Access Rule configured with the Virtualization Profile.
Processing Settings
Select PROCESSING tab to assign Processing setting to a Virtualization Profile, and Pipeline configuration.
Note
Unlike in the PROCESSING->PIPELINE tab of the virtual service version, Pipeline configuration here can be entered only with its source, XML configuration.
Monitoring Settings
Select MONITORING tab to assign Monitoring settings to a Virtualization Profile, such as Monitoring Profile, Monitoring Tracing and Monitoring Filters.