Sentinet Node
Sentinet Node is a special Web Application hosted on the IIS Server. You may create one or more independent Sentinet Nodes within a single IIS Server instance. Each Sentinet Node is created and configured from the Microsoft IIS Manager Administrative snap-in.
Create a new IIS Web Application using IIS Manager Administrative snap-in by opening the Node Configuration Windows shortcut or by opening IIS Manager shortcut from Windows Administrative Tools.
Create a new IIS Web Application using the IIS Manager User Interface.
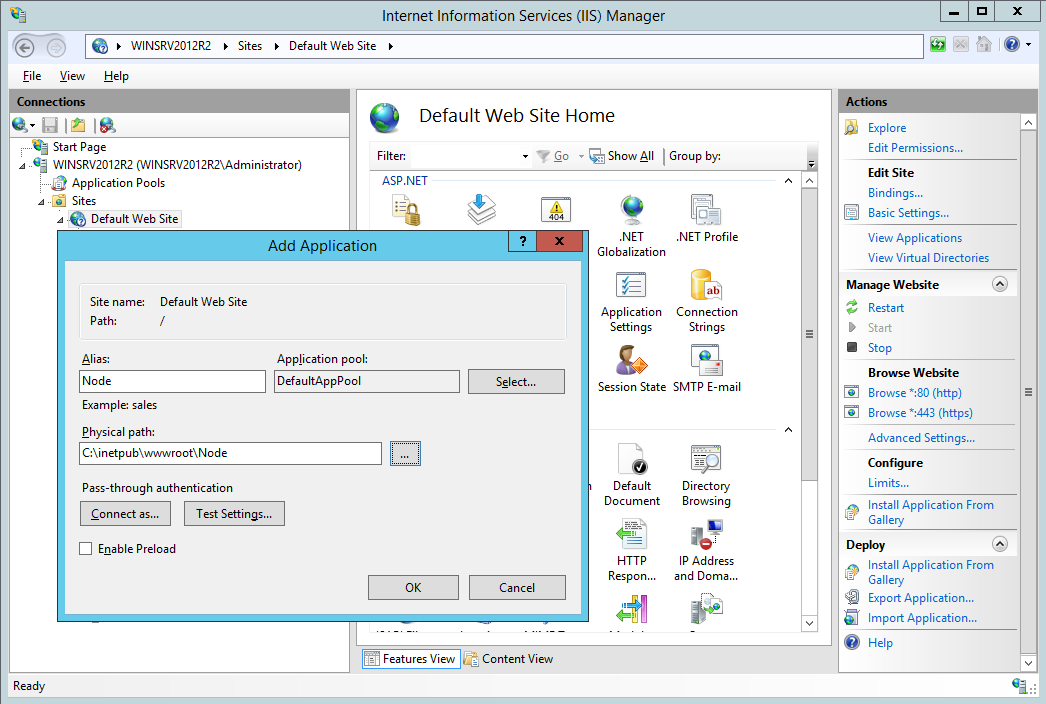
Right-click on Default Web Site and select the Add Application menu option.
Provide an Alias (name) for the Web Application (for example: Node) and select the Application Pool. You have to select an Application pool that is configured with .NET CLR Version 4.0 and Managed Pipeline in integrated mode (for example: .NET v4.5 Application Pool). It is recommended (but not required) to create your own Application Pool dedicated to Sentinet Node(s) before adding your web application to a web site.
Browse to (or create) a physical directory that will be mapped to the IIS Server virtual directory.Click OK button to create an empty Web Application
- A Node Application will be created and selected in the Web Site tree. In the application Features View tab locate Configure Node icon in the Nevatech Sentinet category.
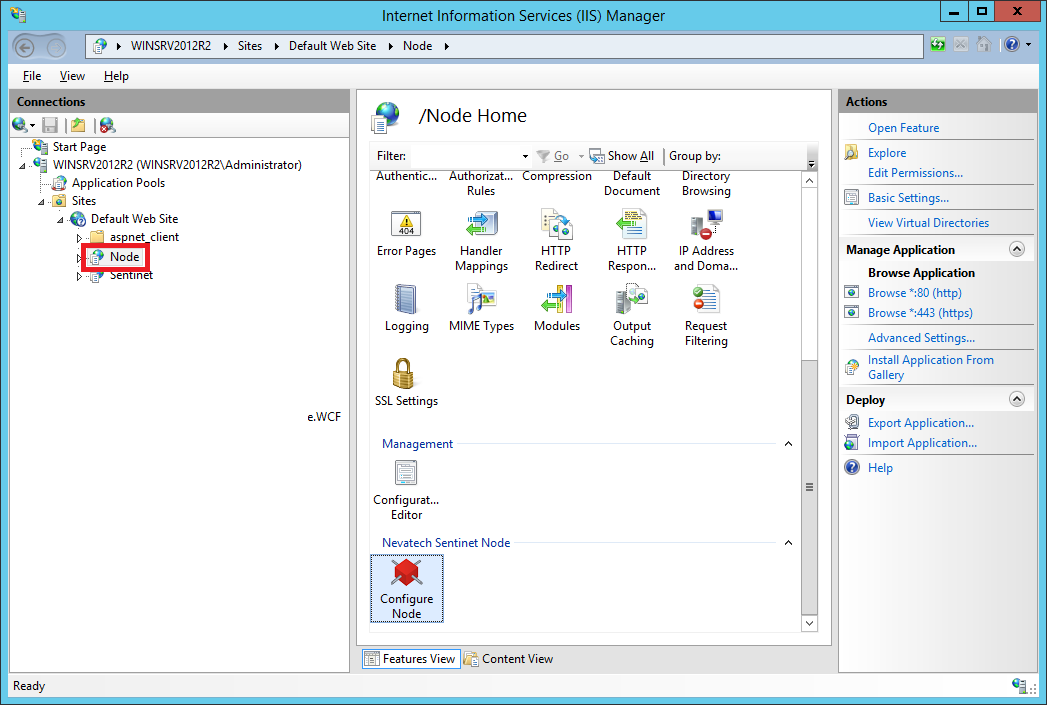
Double-click the Configure Node icon to open the Sentinet Node Configuration screen. If the options to Enable All Protocols and Enable All Authentications are displayed in the right panel, click them to enable the Sentinet Node with support for all transport protocols and all authentication types recommended for the Sentinet Node IIS Application.
Note:
Basic Authentication is not required to be enabled with IIS Application (recommended to be disabled with the Sentinet Node IIS Application) because Sentinet provides its own, more capable implementation for the Basic Authentication, which can be ultimately configured against any identity store.
If MSMQ protocols are enabled with the Web Site, make sure MSMQ Windows Service is started.
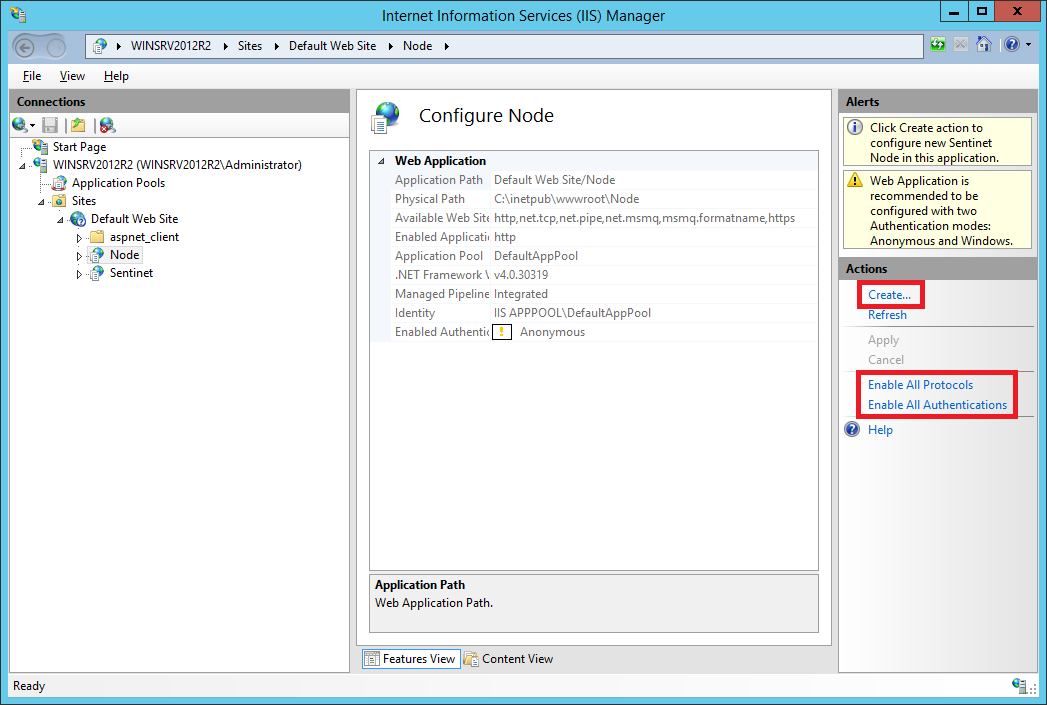
Click the Create action in the right panel to start the Node Configuration Wizard.
Click Next button on the Welcome screen.

Provide a valid https address for the Sentinet Repository Web Application’s service endpoint address.
The provided address needs to be mapped to a machine on which the Sentinet Repository
Application is installed and configured. Typically, only the machine name needs to be replaced in the default Address field:
https://localhost/Sentinet/RepositoryService.svc/repository/username
Note: If all Sentinet components are installed on the same machine, use the machine name that matches the common name of the X.509 SSL certificate assigned to the Sentinet Repository Web Site (step 4, Sentinet Repository Web Application configuration). Provide credentials of the administrative account created in the Sentinet Repository Web Application configuration – step 7.
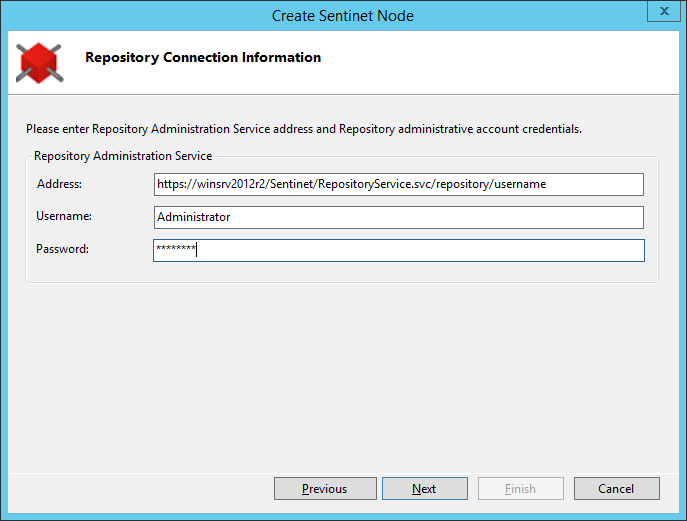
Click Next button to continue.
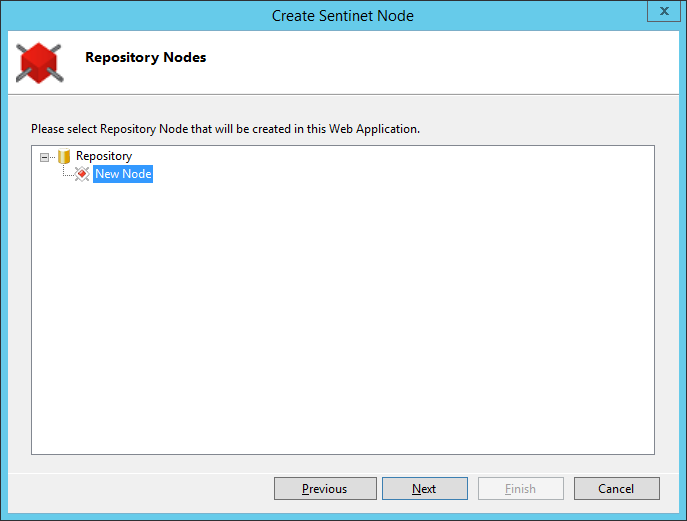
Repository Nodes screen will display the subset of the Repository tree with all node instances registered in the Repository database. Select the Node from that tree that will be associated with the physical instance that Configuration Wizard is currently creating. Click Next button.
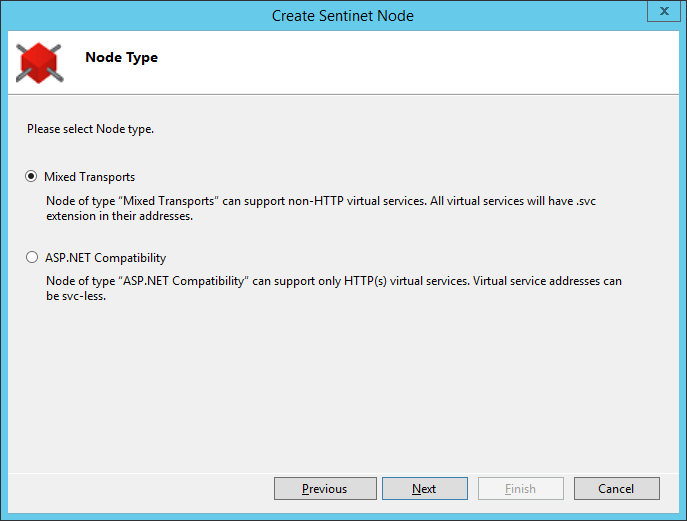
From the Node Type screen select default Mixed Transports type (see Sentinet Installation Guide for more details on the Node type selection options).
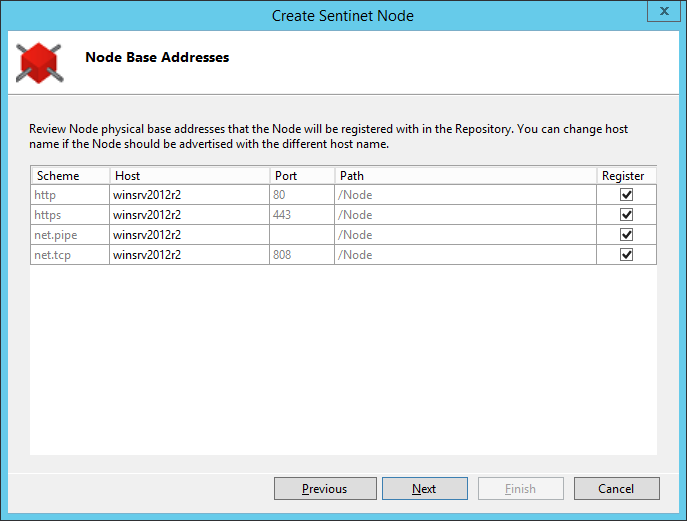
The Node base addresses screen shows all of the base addresses and transport protocols that the Node can be configured with. Select at least one base address. Click Next button.
On the Node Identities screen keep the default, auto-generated Node Instance Id (see Sentinet Installation Guide for more details on the Node Instance Id assignment).
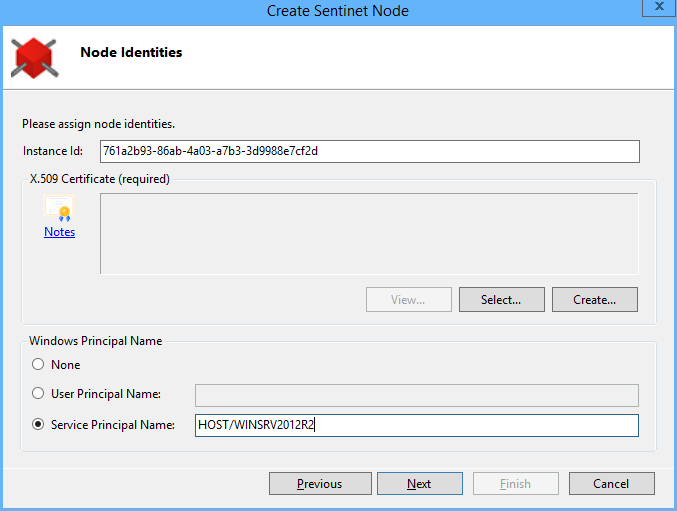
Provide the Node with an X.509 certificate identity. This is the identity that the Node will use to securely communicate with the services of the Repository Web Application. Select a valid certificate from the list of available certificates (click Select button) or request the Repository Web Application to create a new X.509 certificate that will be signed by the Repository Web Application’s signing certificate (click Create button to enter properties for the certificate that will be generated by Sentinet, see screenshot below).

Click Next button on the Node Configuration Wizard to proceed to the Node Configuration Summary screen.
In the Node Configuration Summary screen click Finish button to run the configuration process.
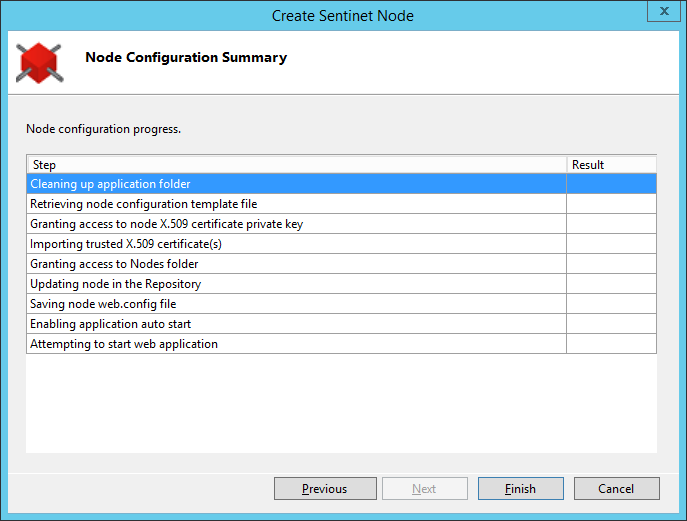
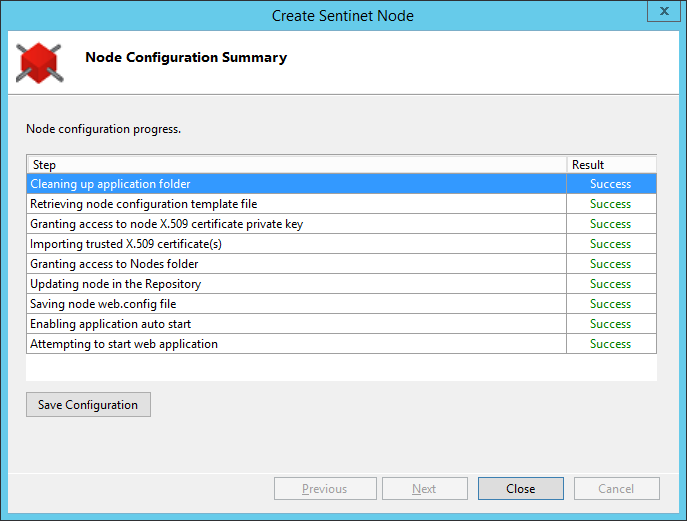
The Configuration Summary screen will show the progress of the configuration process. When completed, click Close button.
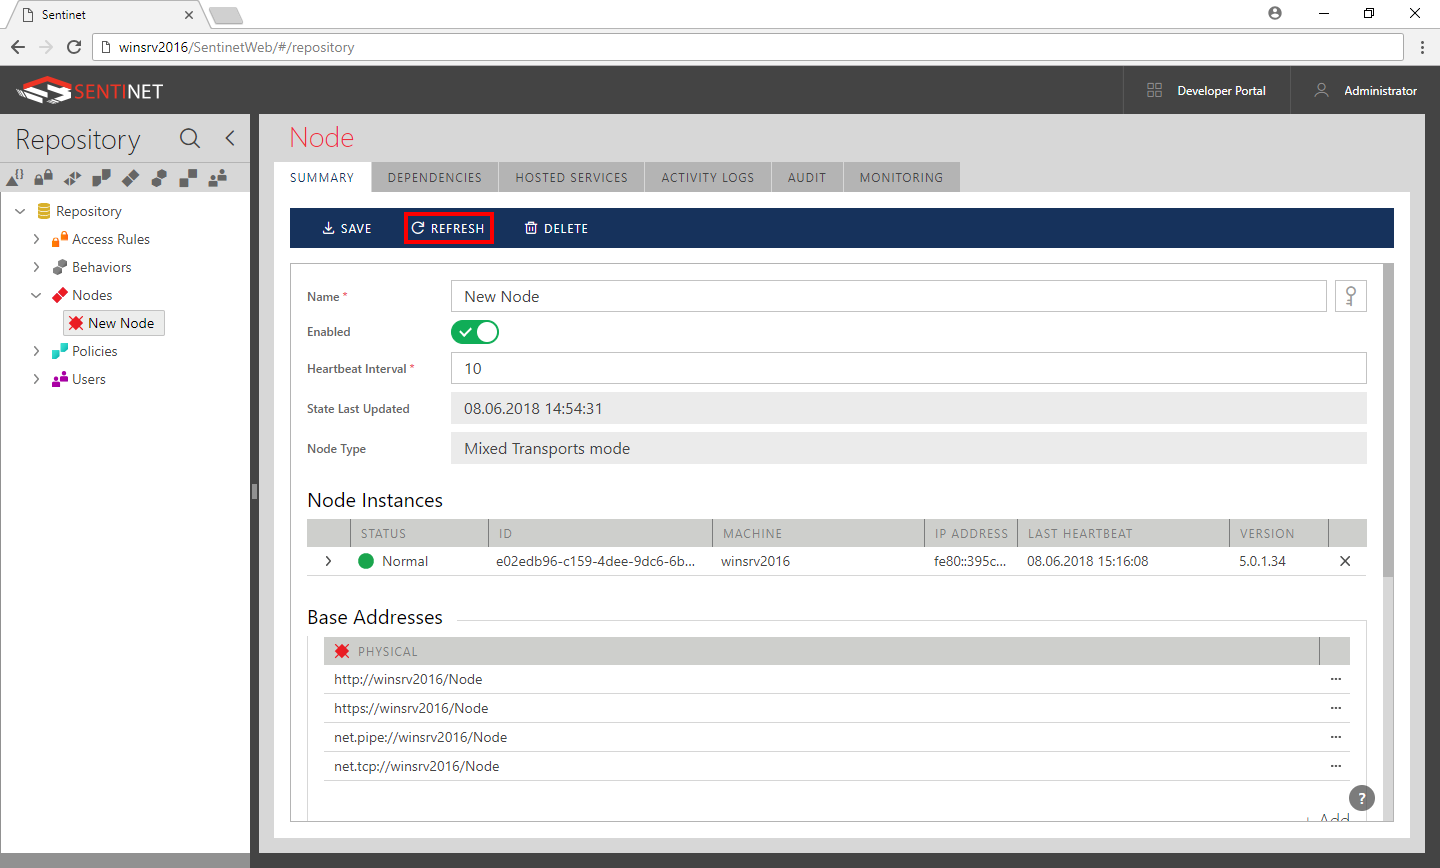
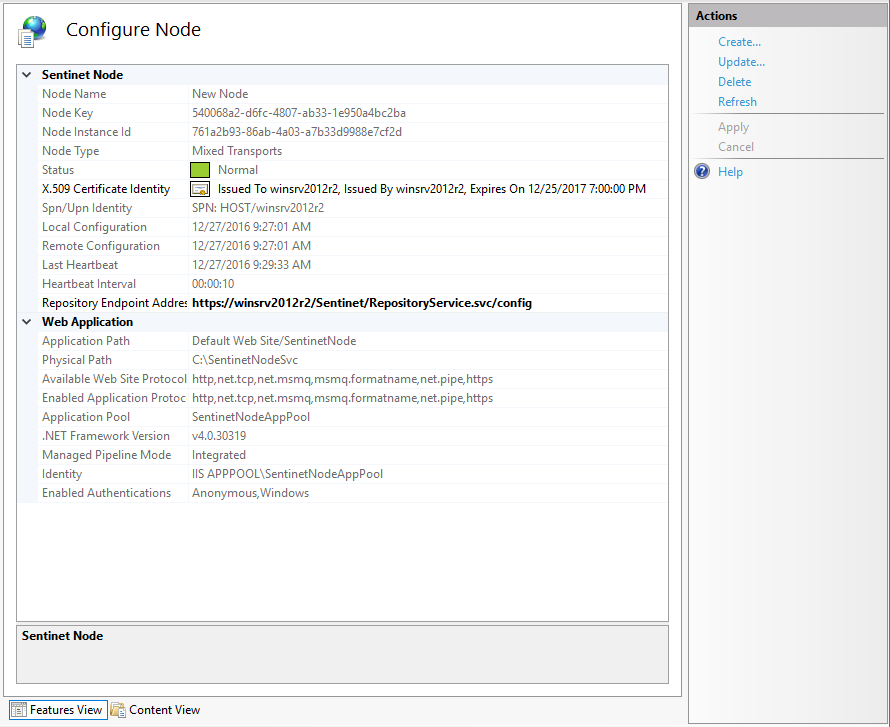
Configuration Wizard will close and show the Web Application Features View with the Sentinet Node properties section. Verify that the Status property shows Normal (green) status. At this point the Node is fully configured and heartbeats to the Repository Web Application.
Go back to browser with the Sentinet Administrative Console screen, hit REFRESH toolbar button on the Node's SUMMARY screen and observe Node reported as fully registered in the Repository.